View Programs (IT Admin and Super Admin only)
View/Edit a Service Area's Programs (IT Admin and Super Admin only)
Add a Program (IT Admin and Super Admin only)
Update a Program's Information (IT Admin and Super Admin only)
Inactivate/Activate a Program (IT Admin and Super Admin only)
Assign/Unassign a User's Service Areas and/or Programs (IT Admin and Super Admin only)
Add a Service Area (IT Super Admin only)
By default, the Program Listing will show active Programs in all Service Areas. Click Active, Inactive or Both radio buttons to control which Service Areas are listed below:
|
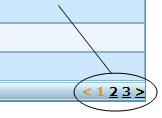
Note: if there are more than ten Programs in the displayed list, they will be displayed in groups of ten. Navigate between groups using the numbers and arrows immediately beneath the Program Listing, on the right. (Circled, left.) |
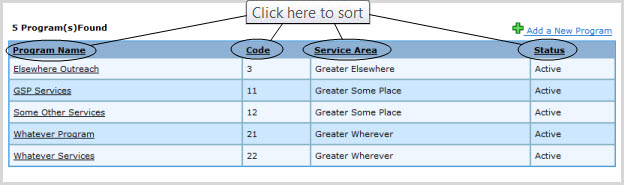
The Program Listing can be sorted by Program Name, Code, Service Area or status.
Click on the corresponding column header by which you wish to have the listing sorted:
A small white arrow will appear next to (or underneath) the column header you just clicked, indicating whether the list is being sorted in ascending or descending order by the attribute selected:

To sort in reverse order, click on the same column header a second time, or on the small white arrow.
To return to the default order, click the column header a third time.
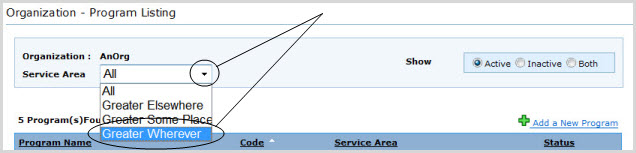
Use the Service Area select box at the top of the page to select a specific Service Area whose Program(s) you wish to view:
|
The same information on limiting by status, sorting and grouping by tens applies to a listing of Programs within a given Service Area as applies to a global Programs listing, as described under View Programs. |
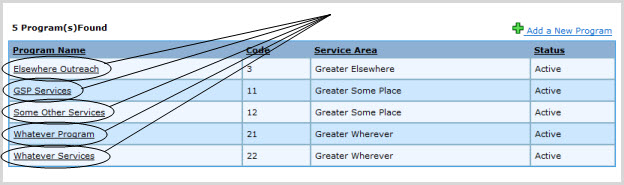
To add a Program:
Click on the "Add a New Program" link on the right just above the listing of Programs. (See below.)

The Add Program form will appear as a shadowbox over the present page.
Enter the new Program's Service Area, Name, Code and Status (active/inactive).
Click Save, or Cancel or Close to cancel action.
|
In order to save Program information:
|
To edit a Program's information, including its active/inactive status:
Click on the Program Name as shown in the Program Listing on the present page. (See below.)
The Edit Program form will appear as a shadowbox over the present page, with the selected Program's information already entered.
Make changes to the Program's Program Name, Code and Status as desired.
Note: Service Area is displayed but cannot be viewed. You cannot transfer Programs from one Service Area to another; you must create a new Program in the desired Service Area and then inactivate the existing program and transfer all of the clients from the one to the other yourself.
Click Save, or click Cancel or Close to cancel action. The Service Area Listing page will be restored and refreshed to reflect any successful changes made.
|
In order to save Program information:
|
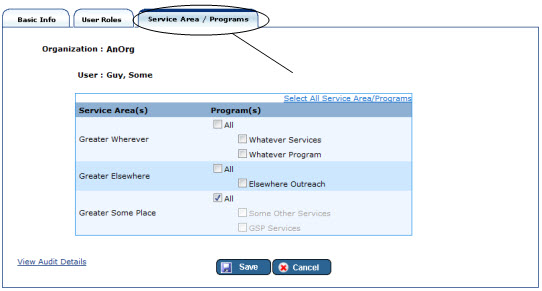
Assigning or unassigning Users to Service Areas and/or Programs is accomplished in the Users area.
To manage Users:
Expand the Administration tab in the Left Navigation Bar and click on Users (below),

OR
Click the "Home" link on the right just above the orange line, and then click the "Users" link on the Admin Home page.

Click on the User whose User whose Service Areas and/or Programs you wish to edit.
Service Areas and Programs can be selected/de-selected under the Service Areas / Programs tab. (See below.)