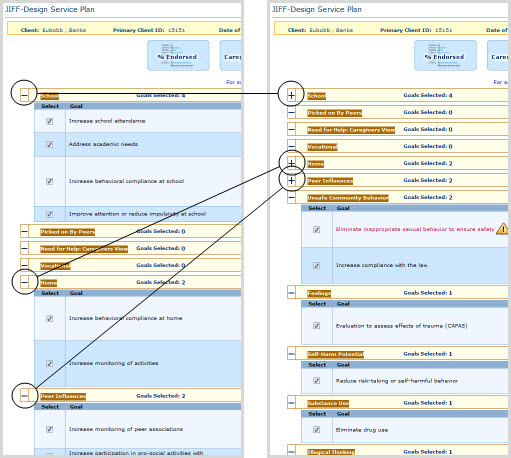
Goals are also discussed in our Advanced Help guide for supervisors, which has less of a step-by-step emphasis and is more focused on teaching you to get the most out of FAS Outcomes and leveraging the system to optimize client outcomes. If you'd like to read about selecting goals in the Advanced Help guide, click here.
The present page provides easy access to:
Goals
management: Goals that were nominated by the system based on the
Client's JIFF
the JIFF
the
Caregiver's Ratings of Youth Needs (in the event that one or more
Caregiver JIFF
the Youth
or Caregiver's JIFF
the JIFF
AND, once Goals are added and/or selected as desired:
the JIFF
Goals appear on the present page organized by JIFF
nominated by the
system based on the Client's JIFF
OR
added by the Assessor sometime thereafter
AND
not subsequently deselected by the Assessor sometime after that.
The Goals listing is tabbed by JIFF
To do so, click on the [+] or [-] icon on the left end
of a JIFF

(NOTE: data shown here is for illustration only; some items vary significantly in appearance depending on the current JIFF settings and the Client's JIFF results.)
|
Where a Client has the opportunity to enter a Rationale, it will appear in quotes in the Answer column of the Goals listing:
|
|
Goals cannot be deselected
if the JIFF |
Goals nominated by the system will show up on the present page and be selected by default.
To deselect a Goal, uncheck the box in the Select column next to the Goal's name:
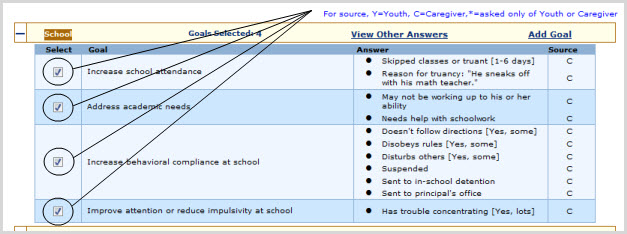
(NOTE: data shown here is for illustration only; some items vary significantly in appearance depending on the current JIFF settings and the Client's JIFF results.)
Keep in mind:
The number of "Goals Selected" listed in the yellow bar will change when you select or deselect Goals.
A Goal that was originally nominated by the system will continue to appear on the page (albeit with its Select box unchecked) after being deselected, whereas Goals added manually will disappear from the page completely when deselected.
Goals will be used for service planning. It may be wise to select and prioritize a small number of Goals.
If you don't deselect Goals, they will always remain on a service plan printout, and will be associated with the Youth thereafter (i.e. via links from the Client Dashboard and, for Administrators, the Supervisor Dashboard).
NOTE: Goals cannot be added to the JIFF
A JIFF
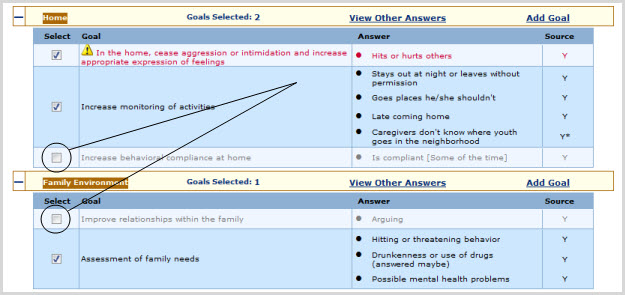
Goals that can be added to a JIFF
JIFF
customized Goals - specific to Organizations - as entered by that Organization's Business Administrator or IT Super Administrator; AND
individualized Goals - specific to a Client - as entered by the Assessor.
To add any of these three kinds of Goals:
Click on the "Add
Goal" link located on the right side of the JIFF
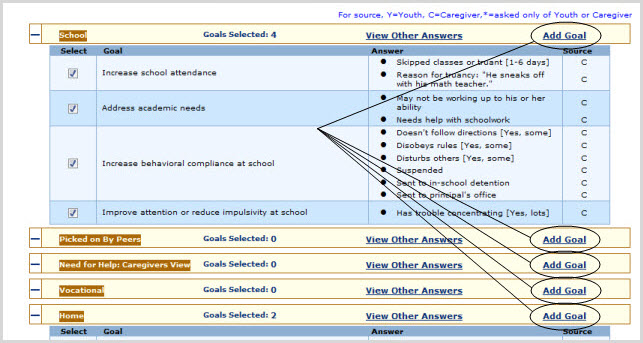
The Add Goal form
will appear as a shadowbox over the present page, containing all JIFF
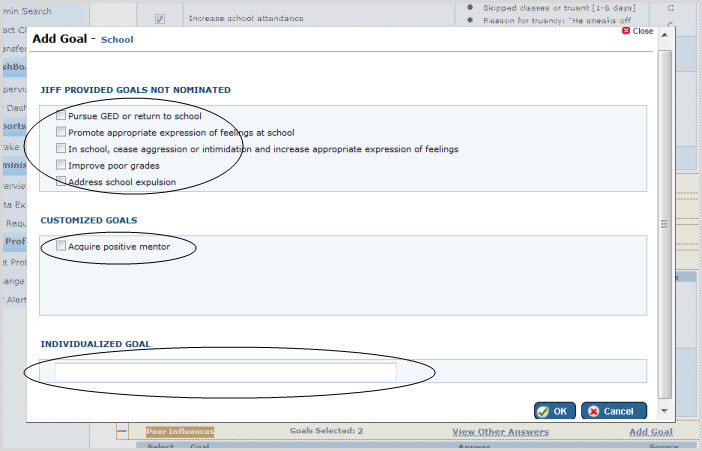
Check boxes beside Goals you wish to add, and/or enter an individualized Goal in the input field provided.
Click OK, or Cancel or Close to cancel action. The JIFF - Design Service Plan page will be restored, and refreshed to reflect any successfully added Goals.
|
NOTE: Customized and individualized Goals added to the Service Plan will appear on the present page looking like the item circled below:
NOTE: The "Goals Selected" tally in the yellow bar will change to reflect added Goals. To remove a customized or individualized goal, click on the red X beside it in the Goal column. (See above). Once deselected, the Goal will disappear from the listing. (The "Goals Selected" tally will change accordingly.) |
Customized JIFF
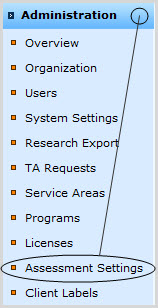
To access this page:
Expand the Administration tab in the Left Navigation Bar and click on Assessment Settings:
OR
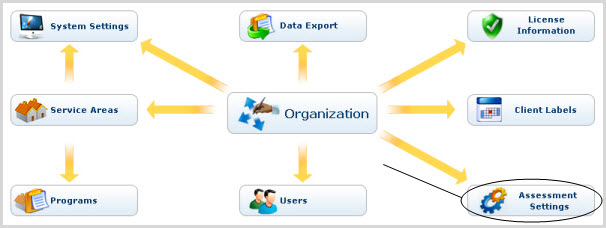
Return to Admin Home either by clicking the "Home" link on the right above the orange line, or expanding the Administration tab in the Left Navigation Bar and clicking on Overview:


Click on Assessment Settings:
Once a new customized Goal has been added for the Service Area in which you are designing a Service Plan, you can return to the JIFF - Design Service Plan page and add the Goal to the Service Plan in question.
To view the percentages within each JIFF
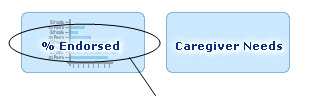
The bar graph will appear in a shadowbox over the present page. When finished, click Close to restore the page.
If there is a Caregiver Assessment on file, the Caregiver's ranking of Youth needs can be viewed as a bar graph. To access this graph, click on the Caregiver Needs button near the top of the page:
The bar graph will appear in a shadowbox over the present page. When finished, click Close to restore the page.
Respondent answers that serve as a Basis for nominated Goals are displayed in the Answer column of the Goals listing:
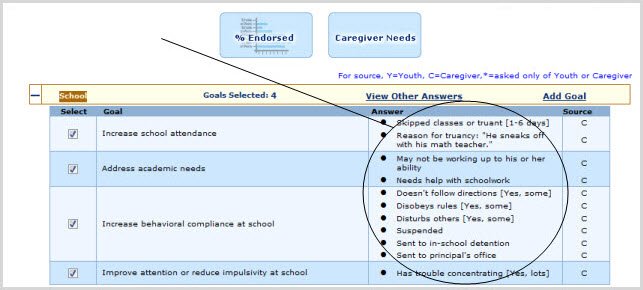
To view a Respondent's answers that were not
the basis for nominated Goals, click on the "View
Other Answers" link on the JIFF
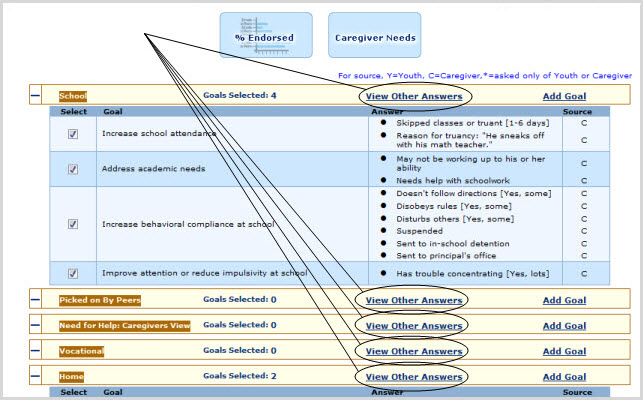
Answers will appear in a shadowbox over the present page. Click Close to restore the Design Service Plan page.
To return to the View Interview Findings page:
Click on the "View Interview Findings" link near the top of the page:

OR
Scroll to the bottom of the page and click on the "JIFF View Interview Findings" button.
The JIFF - Assign Services
page is the next step in creating the JIFF
Services can be assigned, and
Goals prioritized.
To access this page:
Scroll to the bottom of the present page.
Click the Assign Services button.
|
Changes made on the present page will be saved automatically when you proceed to the next page, in this case the JIFF - Assign Services page. To save changes without proceeding to the next page, click Save. |
From the present page, the Assessor can link back to
the JIFF
|
The setup fields that can be changed for an unfinished Assessment are: Additional Description (of the Assessment Administration), the Professional Creating the Plan, the Youth's Current Living Conditions, and the Next Assessment Date and/or the No Subsequent Assessment Due checkbox. |
To edit JIFF
Click on the "Modify JIFF Setup Info" link near the top of the page:

The Youth or Caregiver Assessment Setup page will come
up with information already entered for the JIFF
Edit the editable fields listed above as desired.
Click Save & Continue to save changes, or Cancel to cancel action. You will be returned to the present page.
To accomplish any of these tasks for the present Client, click on the "Client Options" link on the right near the top of the page:

A shadowbox will appear containing the options listed above. Click on the one you want.